Looking for No-Pose Tips for Beach Photography? In this post, Tiffany of Peanut Blossom is sharing her perfect tips!
This weekend I had the opportunity to do a second round of beach photos of my girls. Last year we took them to the ocean for the very first time and Little Pea has been begging to go back pretty much every single day since.
We spent a quick 2 days at Wrightsville Beach in Wilmington, NC and it was such a different experience than Hilton Head last year. Everyone around here seems to have the one specific beach they return to time and again, but we’re still exploring our options. Wrightsville Beach was a great size and simply LOADED with shells. The waves were enormous this weekend and I’m so glad I’ve had both girls in swim classes for months.
Last year I took belated birthday photos of the girls at the beach so I wanted to do another session to compare how they’ve grown. Oh my. Before you scroll, you should check out last year’s session here so you can see the difference too!
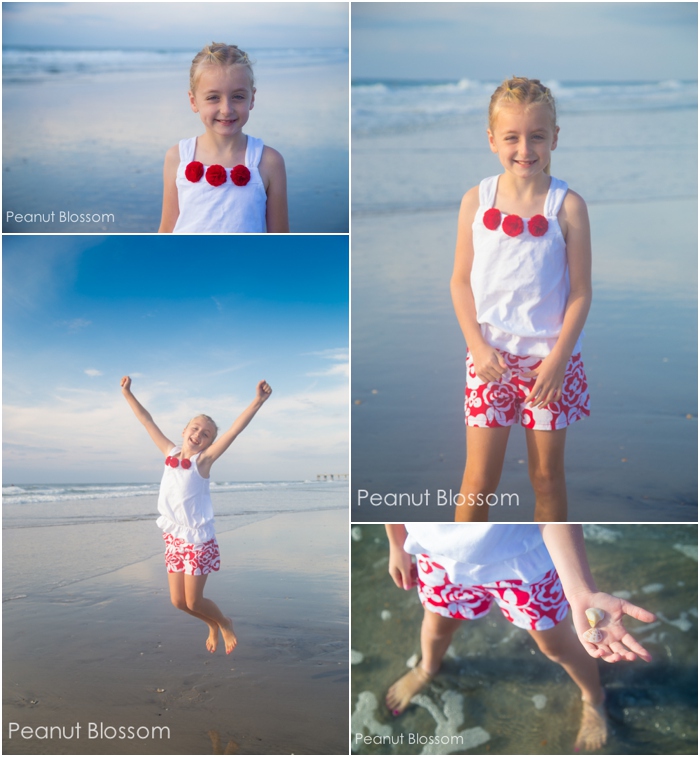
The Peanut, age 7
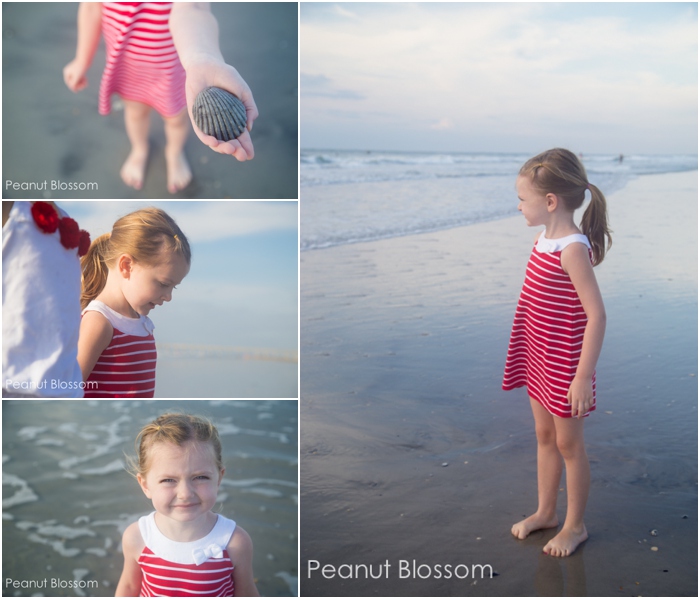
Little Pea, age 4
Huge! Right??
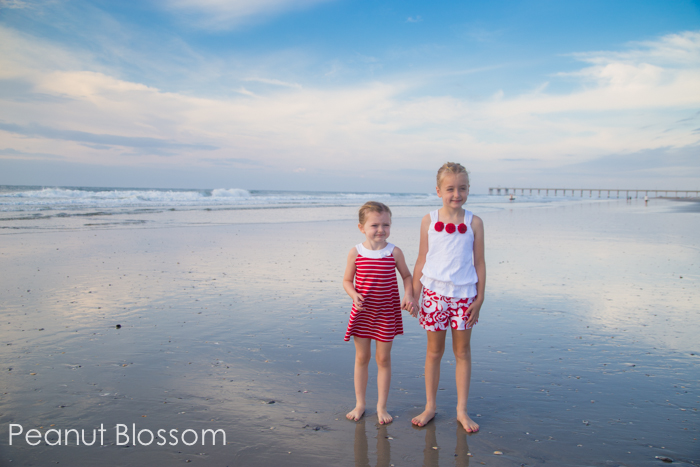
My favorite photo from the weekend is this one:
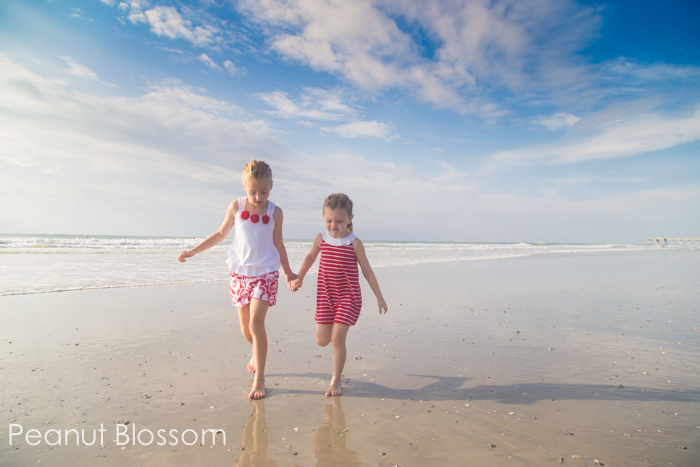
It is the first time I’ve captured an image that I think is needing to made into a big canvas. I would love to hang this in our living room. Capturing it took so much work and effort on my part and I’m so proud of how it turned out. I learned enough in the process of it, I thought it worthy of sharing my tips with you as an update to last year’s “29 tips for beach photography.”
Lighting at the beach is INTENSE. Worthy of an entire workshop. To keep things brief, I’m going to refer to that one picture so you can see a specific example of how my tricks played out. As you read through the instructions below, you might find it helpful to open that image in a second browser window here so you can compare it side to side with the tips. Open the photo here.
My No-Pose Beach Photography Tips
1. Orienting the shot with the sun: Most important thing is to figure out your lighting angle. For this shot, the sun is low in the sky, at 8:30 in the morning. On the East Coast that meant that it was rising up over the water. I placed myself so that the sun was to my far left and my body was tipped to angle some of the beach and the water. I also pointed myself towards the only bits of blue sky. Beachy sky haze can really look grey in photos if you don’t have clear blue to work. We were just really lucky with our weather that morning.
2. Squat and curl: I planted myself and did not chase my girls. I had my orientation figured out and just had to pray the kids would work with me. I squatted way down low so that my tooshie was inches from the ground. This can be a very awkward position but it is crucial for the perspective. To brace yourself and stabilize the shot, curl your toes into the sand. I found the wet sand really helpful in this! My feet got sucked in and it was a great reminder to sit still and be patient–not an easy thing when it is sooooo tempting to chase after them.
3. Arranging the “pose”: You’ve got the scene set, now what to do with the kids?? This was ironically the toughest part for me. I wanted a photo of them together and they kept running off in separate directions. I tried several different prompts but the one that worked the best was this:
“Girls, Come stand over here on my right. This morning, you’re going to give a gift to mommy ok?? You guys are my favorite thing in the world and this photo is my souvenir from our beach vacation, will you please help me??”
Eager nods, “Yes.”
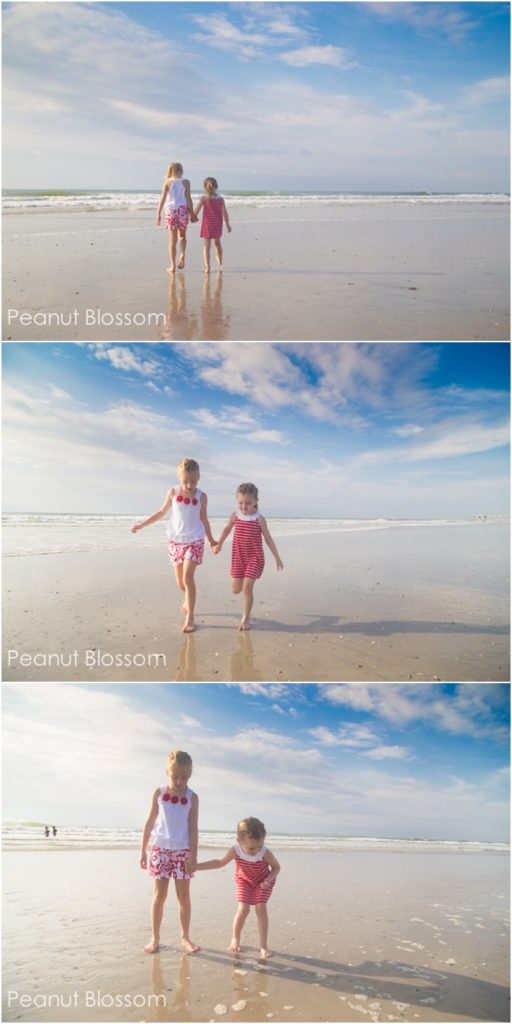
“Girls, please hold hands together and walk SLOWLY from right next to me down towards the water. {Pointing in the direction I want them to go.} When you reach the waves, please SLOWLY turn around and SLOWLY walk back right to this spot.”
If the Peanut wasn’t so responsible, I’m not certain this would have worked as well as it did, but she kept the pace with Little Pea perfectly. It was the best posing trick because they were a far enough distance from me there was no pressure to be smiling at the camera. They just happily chatted together and did their little walk.
After their first walk down and back, I suggested they could go a little faster. I got some adorable running shots and playful arm-tugging “let’s go!” style shots. WARNING: Get what you want before trying that because everything quickly dissolved into chaos after that and the session was done! Ha.
A note on gear:
For this session, I used my Canon 6D and 24-105mm f/4 lens. You can read more about them in this post here. Most of the shots were at the 24mm end of the lens. If you know you’re going on a special vacation and you want to try this out, I highly recommend considering renting a wide angle lens from BorrowLenses. It is much more affordable than buying for most people. I truly consider the photos my souvenirs so I’m more willing to invest in the proper tools to capture them. I rented the 24-105mm lens from BorrowLenses two times myself. The process is very easy!
And lastly, please remember that these images have all been edited in Lightroom. Straight out of the camera the skies were not nearly this blue, the colors not nearly so crisp. I highly recommend shooting in RAW so that you have the room to fix these things easily. I’m hoping to do a whole separate post on how to edit the skies at the beach because I recently learned a new trick that absolutely saved some of my worst shots from the session.
If you liked this post, you won’t want to miss the recap of Tiffany’s photography session at Blog Life University!


Let's keep the conversation going ...